Getting Started
Follow these steps to create a minimal Hotwire Native application on iOS with support for basic back/forward navigation and error handling.
﹟ New Project
First, download and install Xcode 15+.
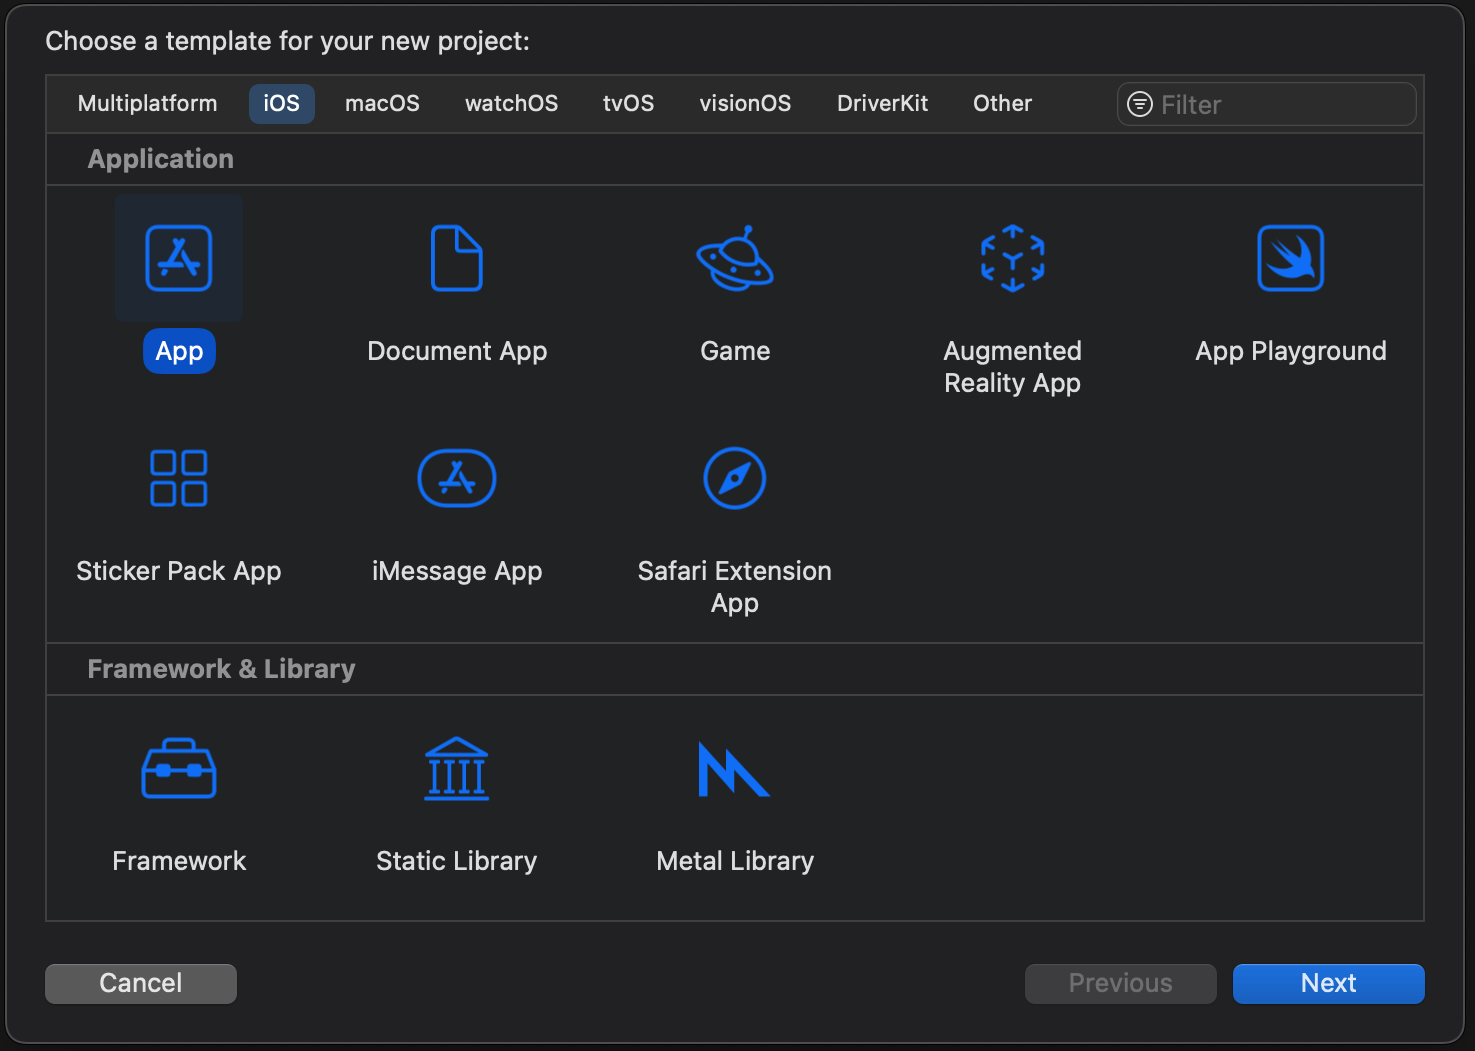
Open Xcode and create a new iOS app via File → New → Project… and choose the default iOS “App” template.
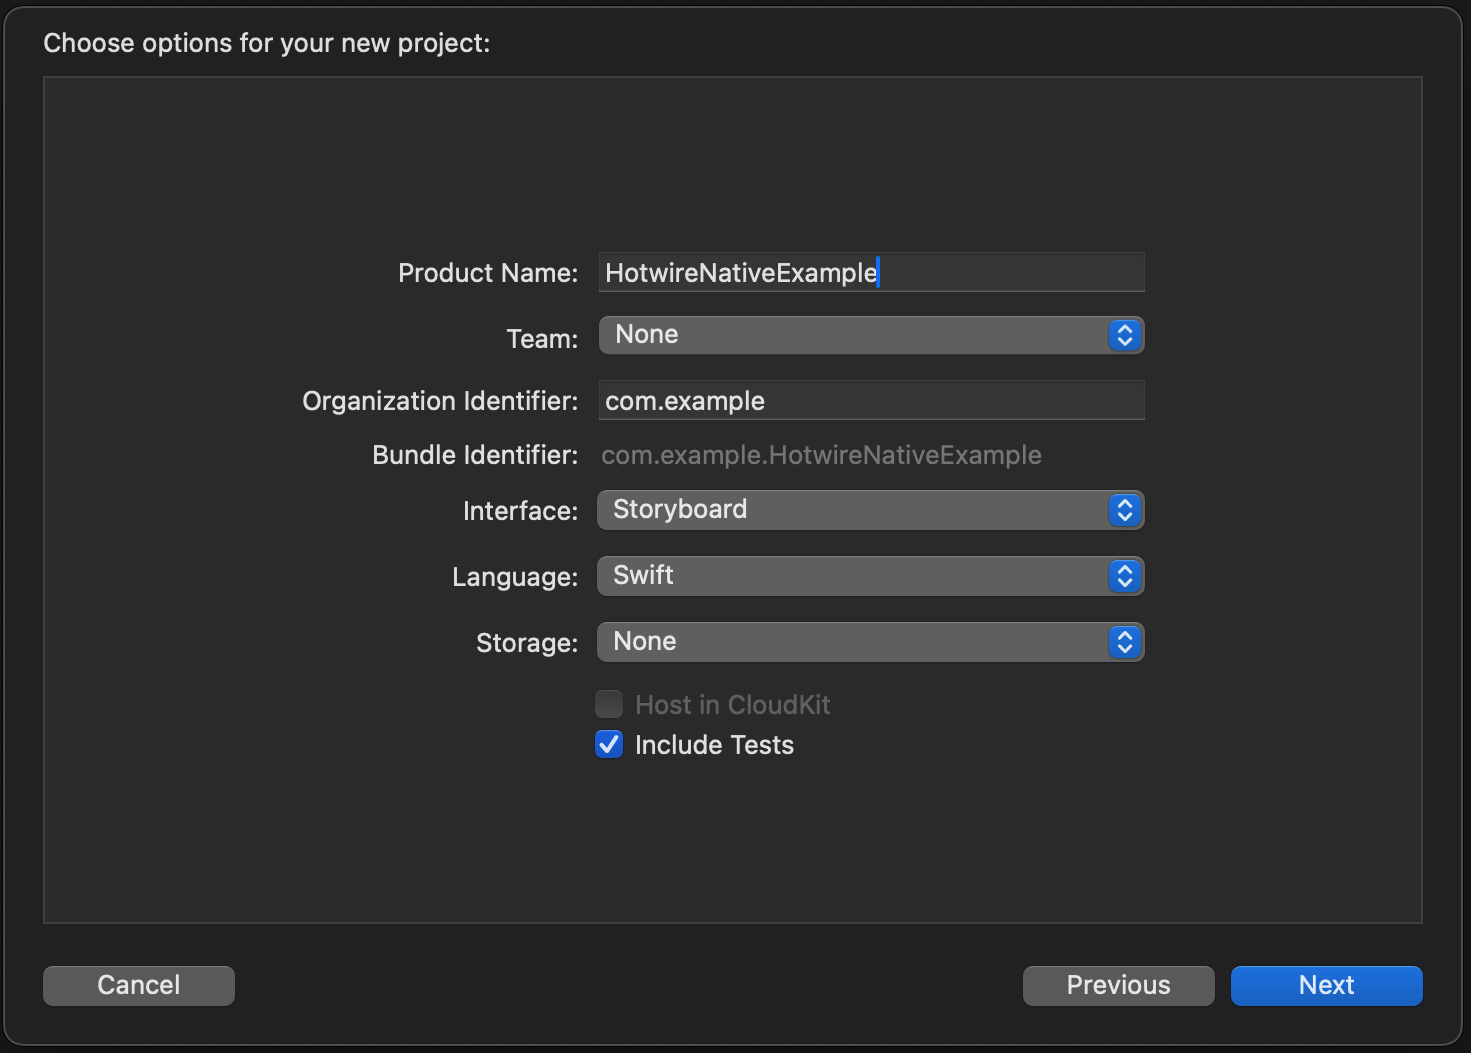
In the project creation dialog, enter a product name, then select “Swift” under “Language”, and “Storyboard” under “Interface” and click Next.
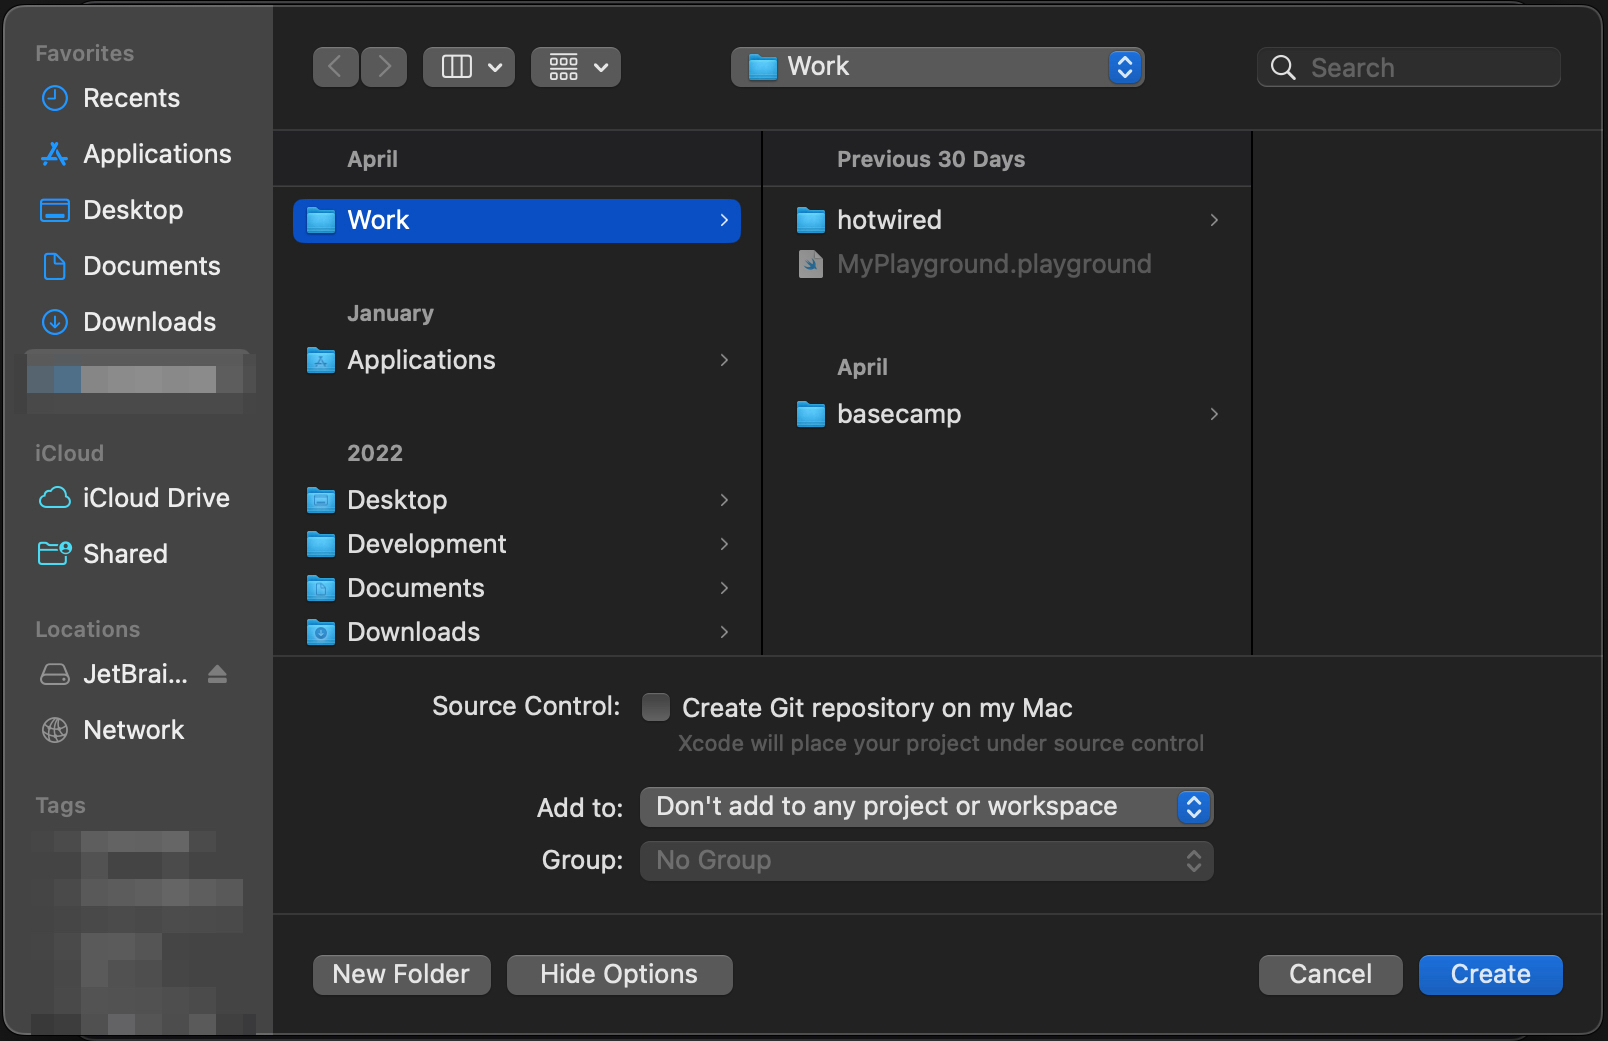
Select where to save the project and click Create.
﹟ Integrate Hotwire Native
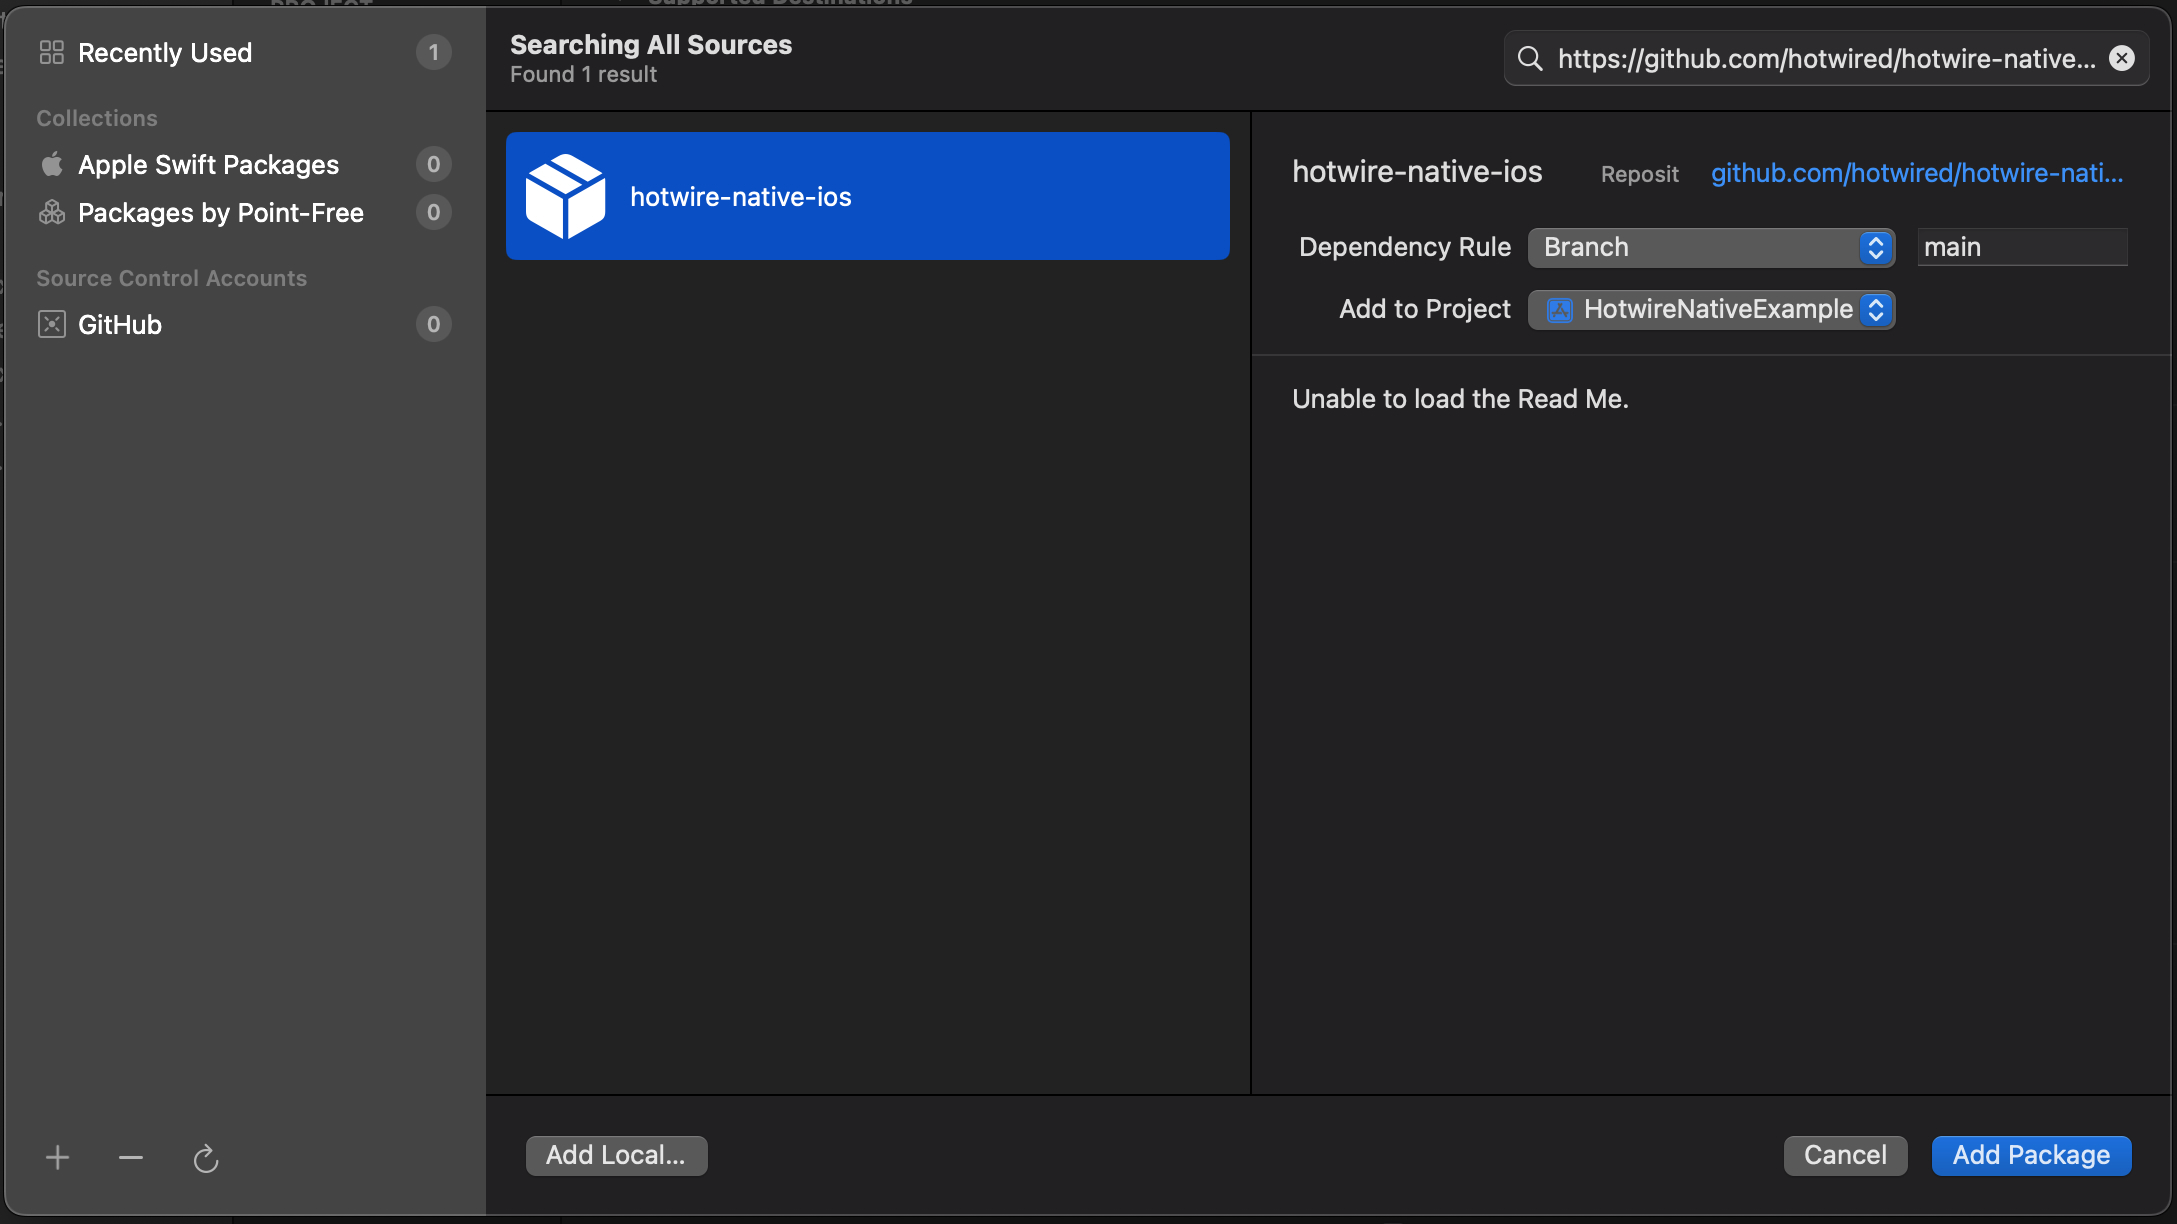
Next, add the Hotwire Native package via File → Add Packages Dependencies… and enter https://github.com/hotwired/hotwire-native-ios in the search field.
Make sure your project is correctly set under “Add to Project“ and click Add Package.
Once the package has been downloaded, select your app name under “Add to Target“ and click Add Package.
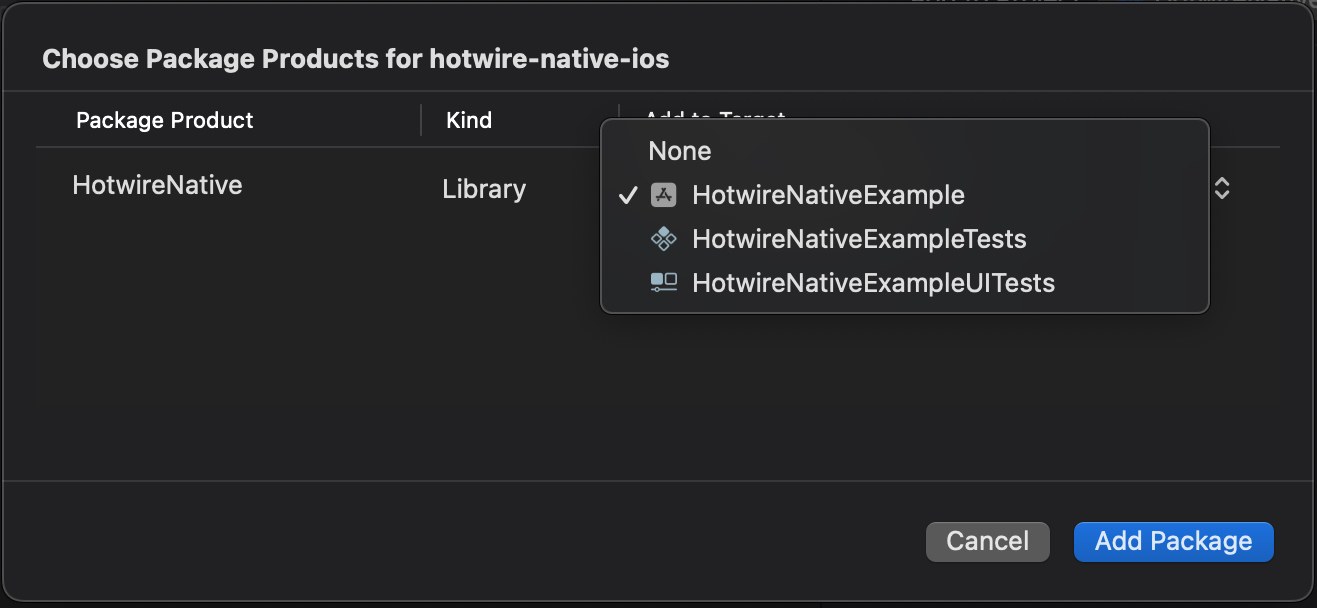
Finally, open SceneDelegate and replace the entire file with this code:
import HotwireNative
import UIKit

let rootURL = URL(string: "https://hotwire-native-demo.dev")!

class SceneDelegate: UIResponder, UIWindowSceneDelegate {
    var window: UIWindow?

    private let navigator = Navigator(configuration: .init(
        name: "main",
        startLocation: rootURL
    ))

    func scene(_ scene: UIScene, willConnectTo session: UISceneSession, options connectionOptions: UIScene.ConnectionOptions) {
        window?.rootViewController = navigator.rootViewController
        navigator.start()
    }
}
﹟ Run!
Click Product → Run to launch the app in the simulator. You should see the following screen in the simulator.
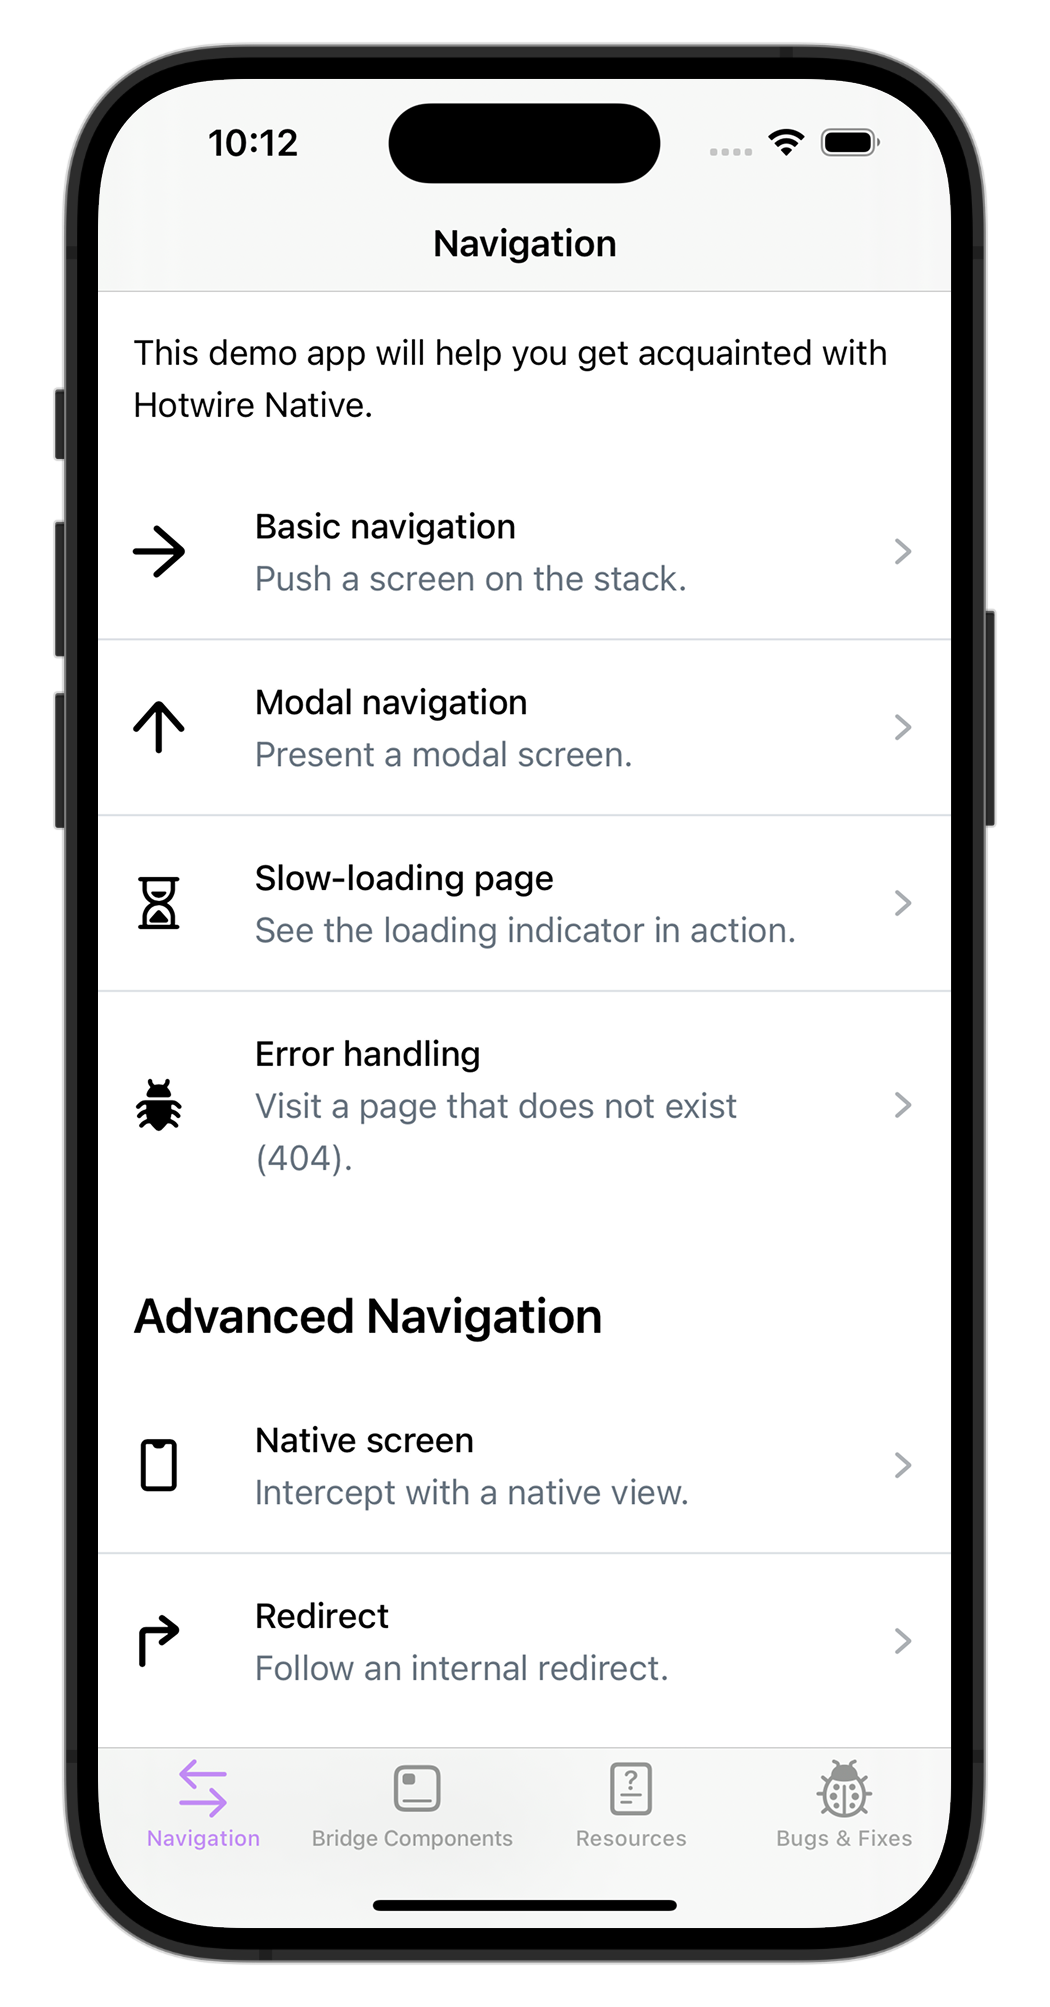
This example only touches on the core requirements of creating a Navigator and routing the root URL. Feel free to change the URL used for the initial visit to point to your web app.
And note that we are pointing to a demo application server that expects a bit more native functionality. Some of the links, like native controls, won’t work out of the box. Check out the Hotwire Native iOS demo app for examples on how to add bridge components, native screens, and more.