Getting Started
Follow these steps to create a minimal Hotwire Native application on Android with support for basic back/forward navigation and error handling.
﹟ New Project
First, download and install Android Studio.
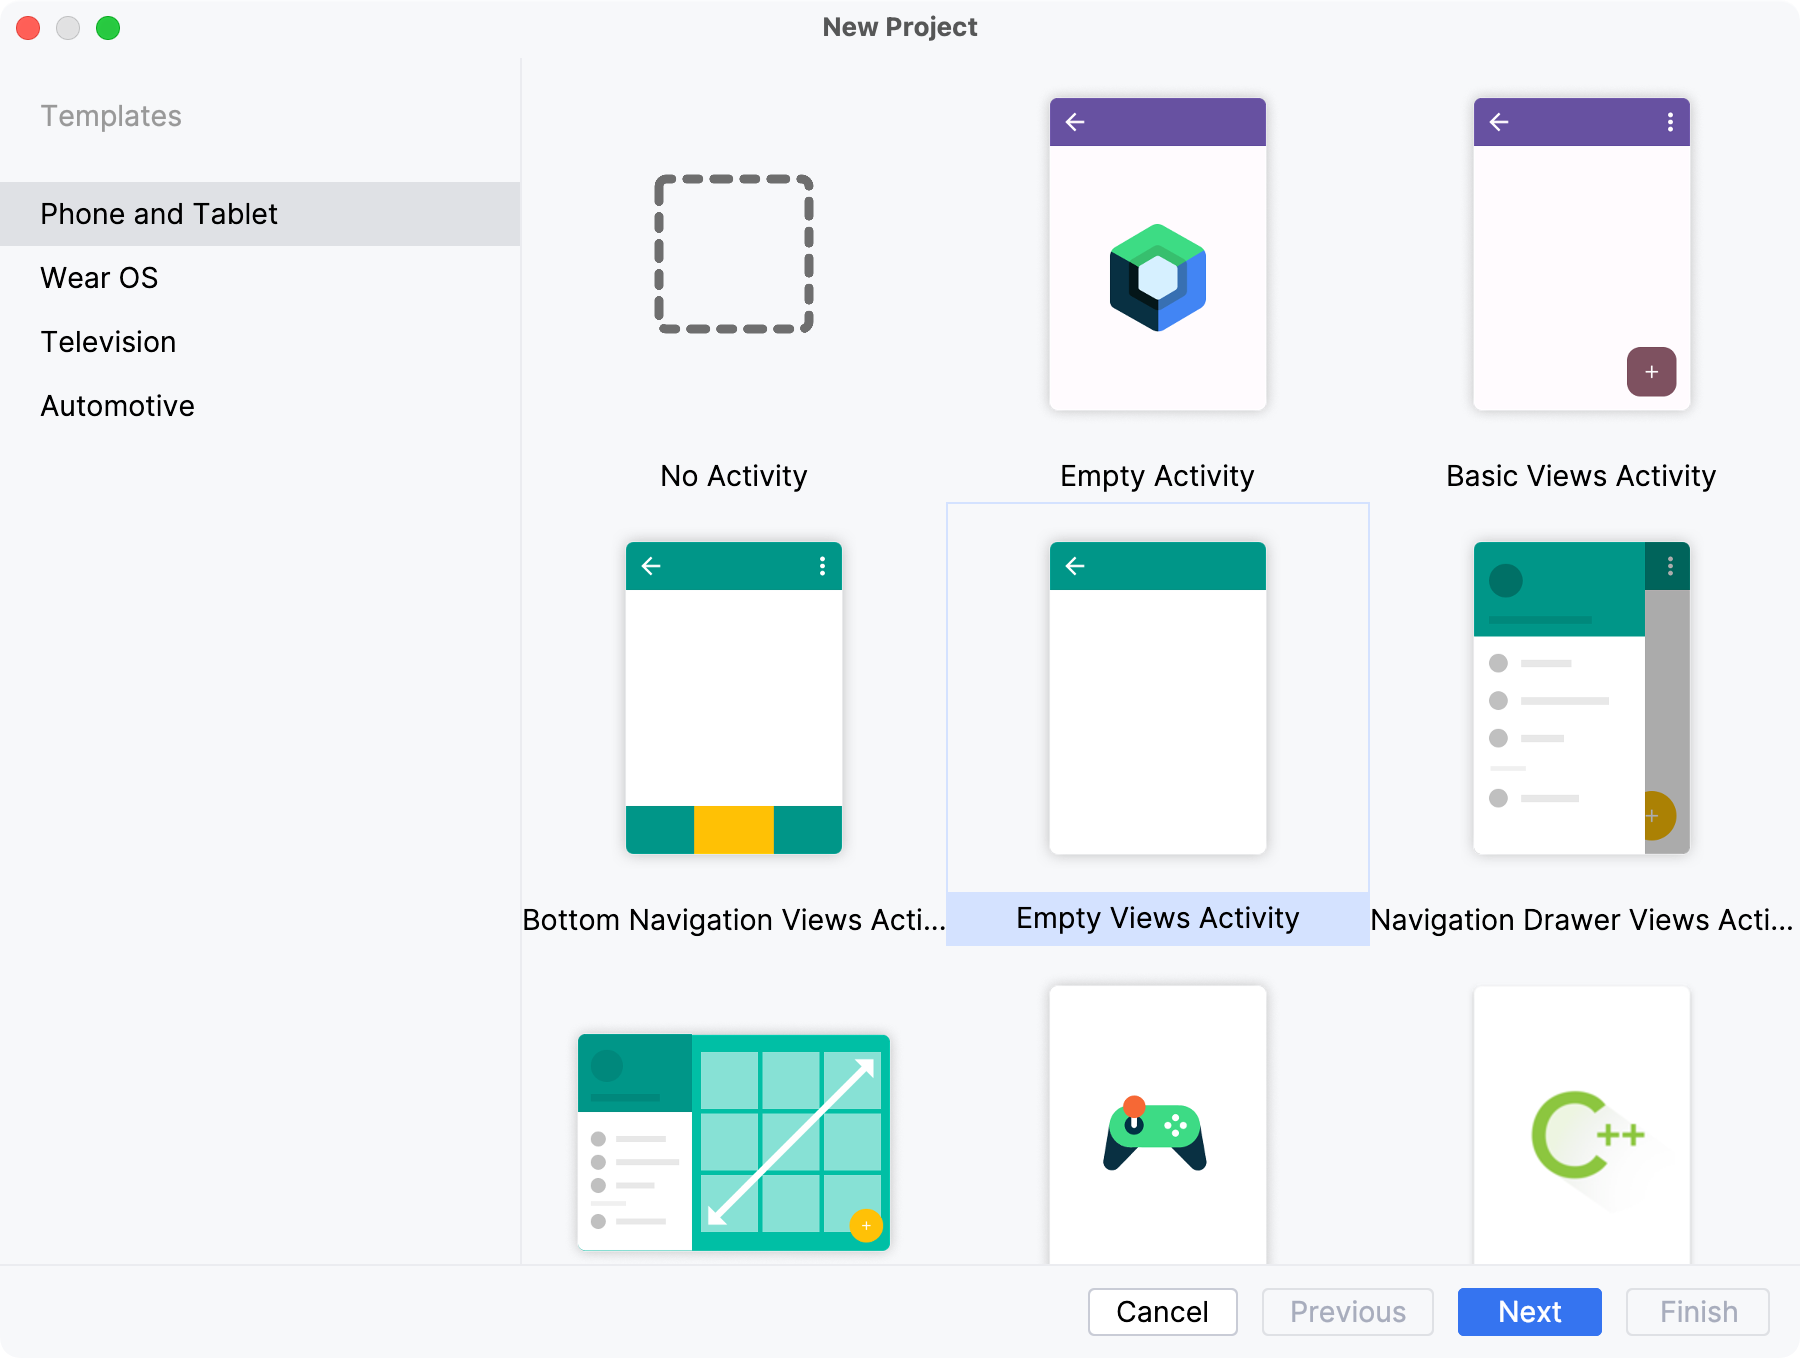
Open Android Studio and create a new Android app via File → New → New Project… and choose the “Empty Views Activity” template.

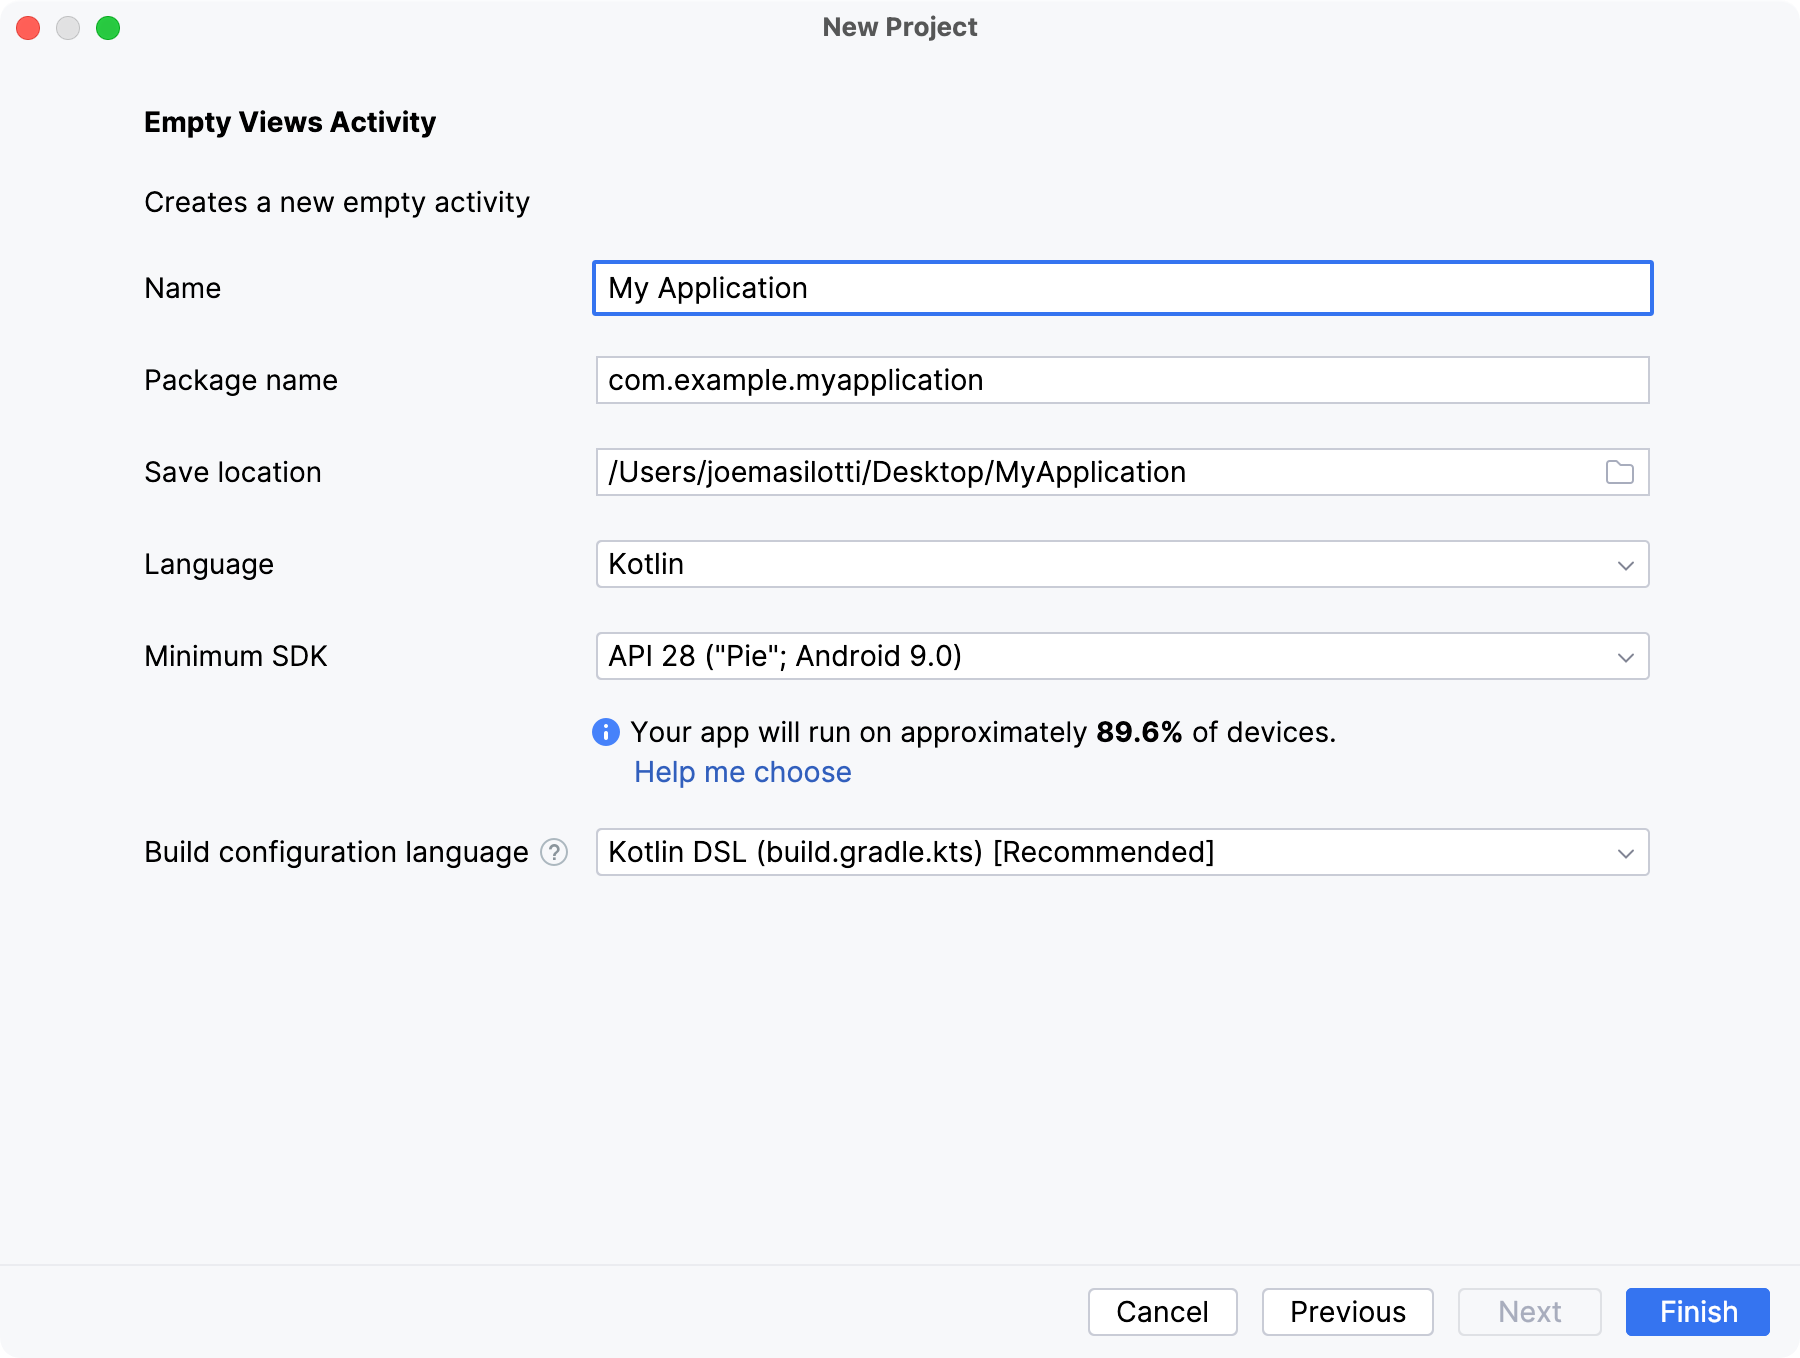
Then select API 28 or higher for the minimum SDK and Kotlin DSL for the build configuration language.

﹟ Integrate Hotwire Native
Add the Hotwire Native dependencies to your app’s module (not top-level) build.gradle.kts file. You can find the latest version number from github.com/hotwired/hotwire-native-android/releases.
dependencies {
    implementation("dev.hotwire:core:<latest-version>")
    implementation("dev.hotwire:navigation-fragments:<latest-version>")
}
Enable internet access for the app by opening AndroidManifest.xml and adding the following above the <application> node:
<uses-permission android:name="android.permission.INTERNET"/>Set up the app’s layout by opening activity_main.xml and replace the entire file with the following:
<?xml version="1.0" encoding="utf-8"?>
<androidx.fragment.app.FragmentContainerView
    xmlns:android="http://schemas.android.com/apk/res/android"
    xmlns:app="http://schemas.android.com/apk/res-auto"
    android:id="@+id/main_nav_host"
    android:name="dev.hotwire.navigation.navigator.NavigatorHost"
    android:layout_width="match_parent"
    android:layout_height="match_parent"
    app:defaultNavHost="false" />
Finally, open MainActivity.kt and replace the class with this code:
package com.example.myapplication // update to match your project

import android.os.Bundle
import android.view.View
import androidx.activity.enableEdgeToEdge
import dev.hotwire.navigation.activities.HotwireActivity
import dev.hotwire.navigation.navigator.NavigatorConfiguration
import dev.hotwire.navigation.util.applyDefaultImeWindowInsets

class MainActivity : HotwireActivity() {
    override fun onCreate(savedInstanceState: Bundle?) {
        enableEdgeToEdge()
        super.onCreate(savedInstanceState)
        setContentView(R.layout.activity_main)
        findViewById<View>(R.id.main_nav_host).applyDefaultImeWindowInsets()
    }

    override fun navigatorConfigurations() = listOf(
        NavigatorConfiguration(
            name = "main",
            startLocation = "https://hotwire-native-demo.dev",
            navigatorHostId = R.id.main_nav_host
        )
    )
}
﹟ Run!
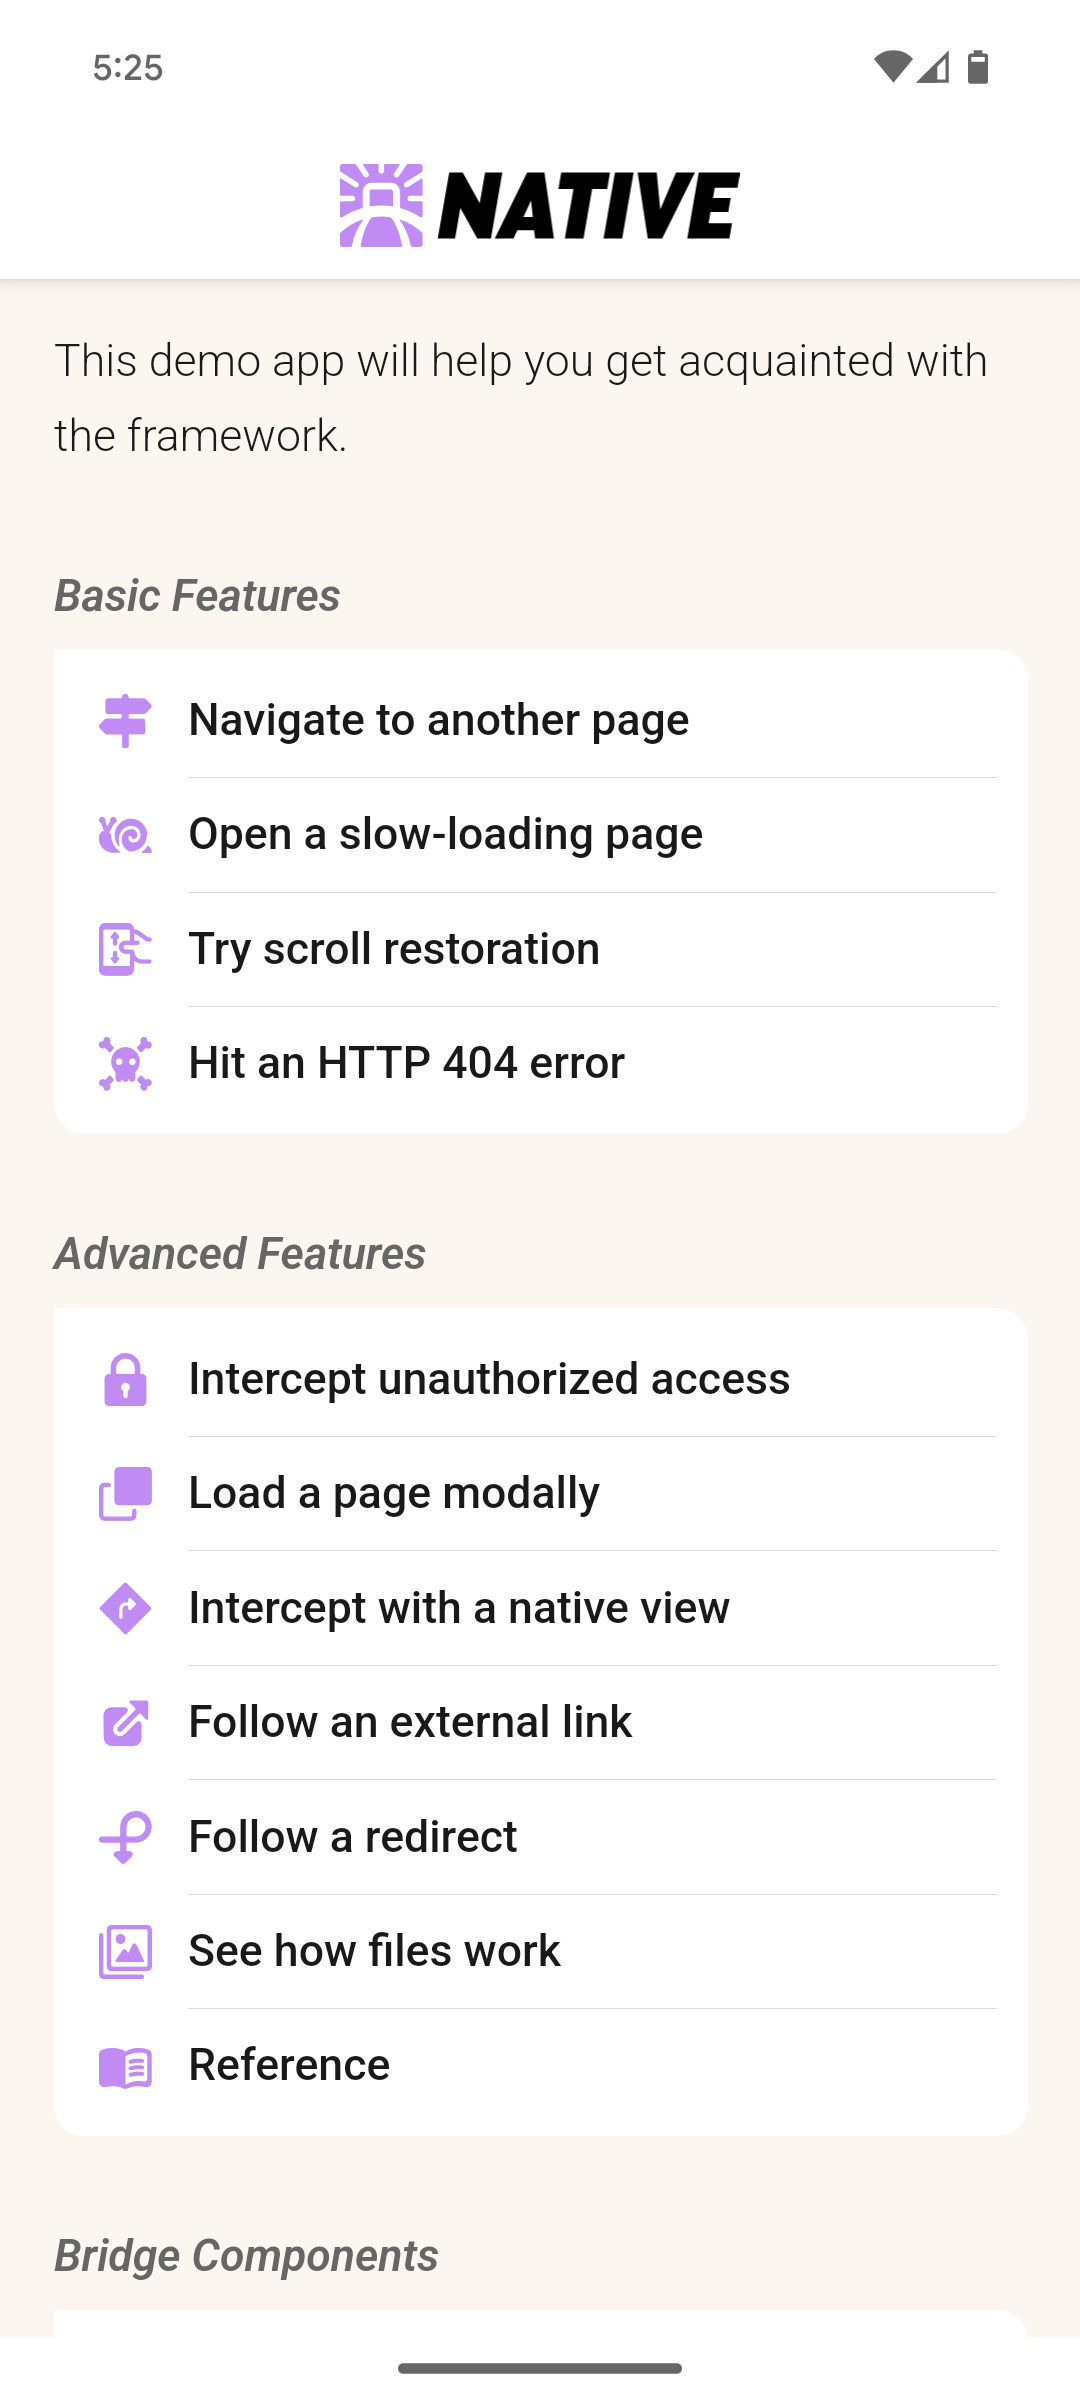
Click Run → Run ‘app’ to launch the app in the emulator. You should see the following screen in the emulator:

This example only touches on the core requirements of creating a HotwireActivity and routing start location. Feel free to change the URL used for the initial visit to point to your web app.
And note that we are pointing to a demo application server that expects a bit more native functionality. Some of the links, like native controls, won’t work out of the box. Check out the Hotwire Native Android demo app for examples on how to add bridge components, native screens, and more.